
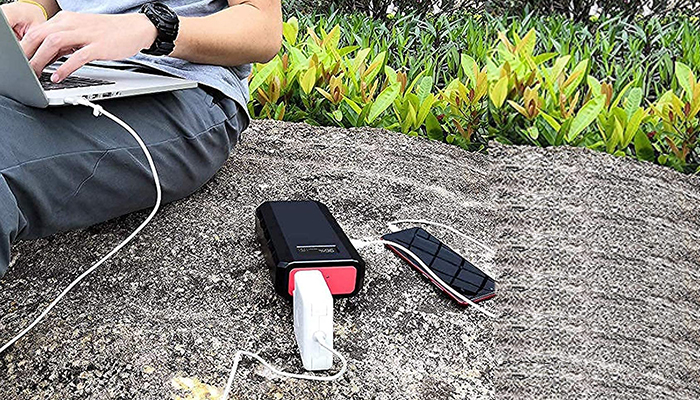
Do you know that you can hook up your laptop to a solar panel and use it as a charger? Well, it is entirely possible if you follow some steps.
In today’s world laptops are mostly charged with non-renewable energy sources. But if you charge your laptop through sunlight, you can save precious energy by using a renewable energy source.
However, there are some things to keep in mind. If you do not know the proper procedure for charging through solar panels, you might end up damaging your laptop. So, you might wonder about how to charge a laptop with solar panel.
Let us guide you through the process so that you can easily charge your laptop with a solar panel if you want to.
How To Charge A Laptop With Solar Panel
There are some materials that you will need to charge a laptop with solar panels. These are as follows:
- Solar panels,
- Voltage regulator,
- Connectors,
- Blocking diode.
Now, after collecting all the tools, let’s jump into the steps that you have to go through to charge your laptop with a solar panel.
Step By Step Process
Step 1:
Firstly, you have to check the voltage needed for your laptop. Most of the laptops require around 16-18.5 V to charge. You should buy solar panels with a power output of around 60-100 watts to match the voltage.
If you buy panels with extremely high power output, your laptop may be damaged. However, if you buy panels with low wattage than recommended, your laptop may not even charge. Be sure to set up the solar panels in a sunny area.
Step 2:
The next thing you need to get is a voltage regulator. Higher voltage may damage or even fry your laptop whereas lower voltage may not even charge your laptop.
As sunlight does not always have the same intensity, a voltage regulator is necessary to keep the potential difference of the battery stable. You should connect the voltage regulator to the solar panel for ensuring safe voltage output.
Step 3:
Reverse polarity causes the solar panels to discharge the laptop’s battery, which is exactly the opposite of what we want. Using a blocking diode prevents reverse polarity.
Check whether your laptop has a blocking diode. If it does not come with a preinstalled one, install a blocking diode.
Step 4:
Different laptop model comes with different types of connectors. You must check whether your solar panel connector matches the laptop. If these do not match, you can not charge your laptop.
In that case, you have to get a connector that matches your laptop. Use the connectors to make a link between the solar panel and the laptop.
Step 5:
After assembling everything and connecting them through connectors, check whether your laptop charges. If it does, then Congratulations! Now you know how to charge a laptop with a solar panel.
However, if it does not work, make sure to check the connections and output voltage.
Some Tips to Follow:
- If your laptop battery does not show the voltage required, you can find it out yourself. Divide the recommended power(in watts) by the current required (in ampere), you will find the voltage needed.
- You can set up multiple solar panels but make sure not to go overboard.
- Make sure to connect the panels to the laptop using a proper connector.
- Select the sunniest spot around you because the power output depends on the sunlight.
- Fix the voltage output using the voltage regulator so that your charger does not damage your laptop.
Verdict:
If you follow the above steps serially, you should be able to charge your laptop using a solar panel easily. The method may seem complicated at first. But, once you get the gist of it, you won’t face any problems.
Despite having some downsides, solar panels can be a very good alternative to regular chargers. We hope that you now understand how to charge a laptop with solar panel.